In this Spring Boot article we will look at the application.properties file. We will look at the different options to use the properties in Spring Boot.
Introduction
Spring Boot provides a power and flexible mechanism for application configuration using the application.properties file. This mechanism provides the flexibility to configure and change the application behaviour without changing the code in our application. The default application.properties comes up with a large list of configurations to boot strap our application. Spring Boot provide the option to change or override the application behaviour by overriding these configuration properties.
It also provides a powerful mechanism to inject the custom properties in our application using the application.properties file. For a complete list of the OOTB properties, please refer to the documentation. This post covers how to define custom properties and how to use these custom properties in our application.
1. application.properties File.
The application.properties file is a simple property file with a key-value information to configure or externalize our application properties. Spring Boot provides multiple options to bundle this file in the application.
- Bundle it with the jar.
- Load from the file system on startup.
Think of the property file as the central control unit for your application. This file is useful for:
- Customize or override the default Spring framework behaviour (e.g. changing the server port, or timeout or caching).
- Custom properties to control our application (defining the username and password for API integration).
2. Setting up Application
Let’s start our journey by creating a simple web application. We can use the IDE or Spring Initializr to bootstrap our application.
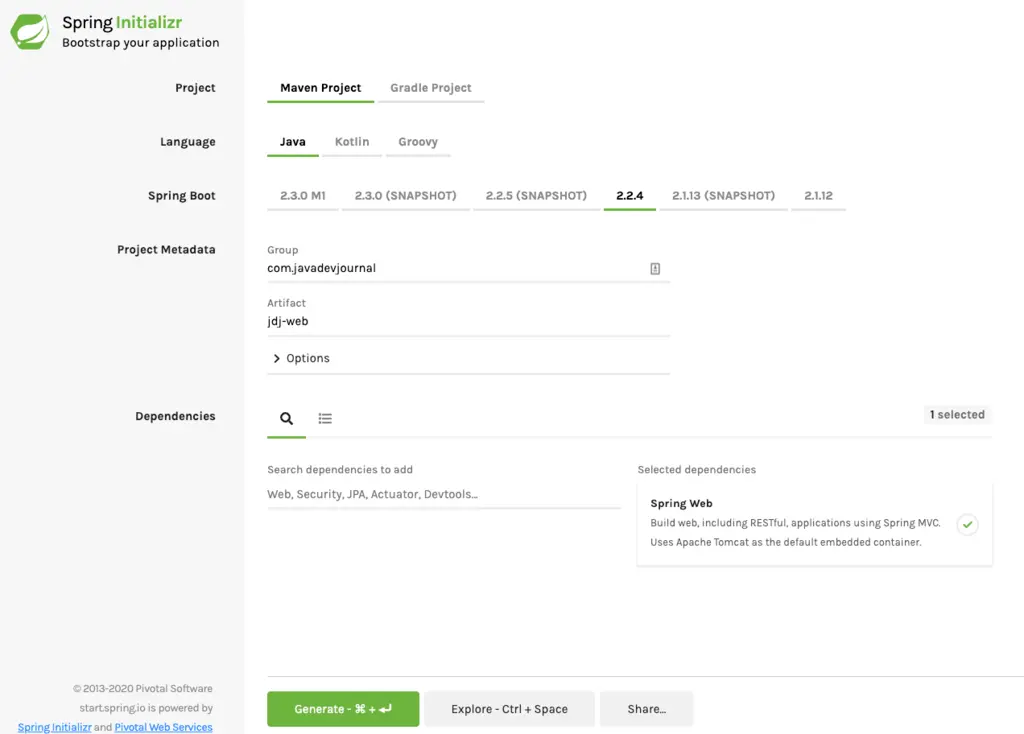
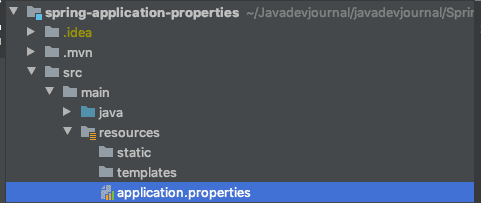
Click on the “Generate” button to download the project structure in your local machine. The next step is to import the project in the Java editor. Our Spring Boot configuration file will be available under the src/main/resources directory.
By default, this file will be empty (we will add values in the later section).Spring also support the property configuration using the .yml file. If you prefer the .yml, create application.yml file in the same file location. We are using the .properties type in this tutorial.
[pullquote align=”normal”]Don’t mix property and yml convention. Choose one and stick to that. [/pullquote]
Let’s add a custom property to in the application.properties file:
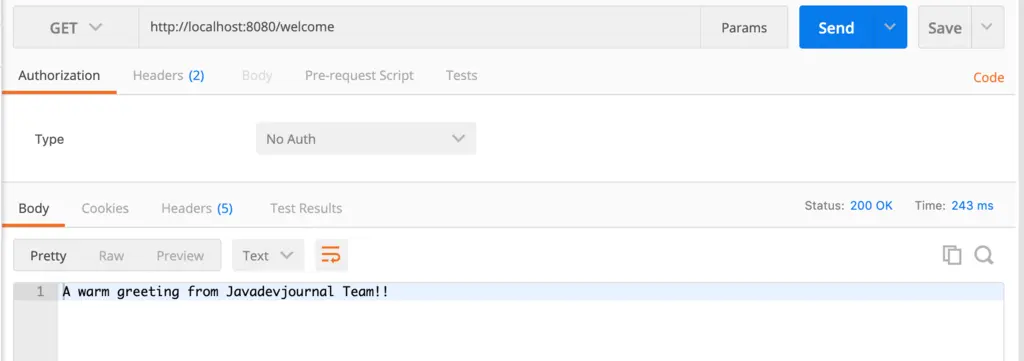
javadevjournal.welcome.message= A warm greeting from Javadevjournal Team!!
3. Property Injection Using @Value Annotation
The most common way to inject these properties are through the @Value annotation. We have the option to use this annotation in
- In the constructors
- On the Bean fields.
Let’s create a REST controller and provide a configurable welcome message to all customer:
import org.springframework.beans.factory.annotation.Value;
import org.springframework.web.bind.annotation.GetMapping;
import org.springframework.web.bind.annotation.RestController;

@RestController
public class WelcomeController {

    // We are injecting the configuration message from the application.properties file using @Value annotation
    @Value("${javadevjournal.welcome.message}")
    private String welcomeMsg;

    /**
     * Our Welcome display message which will use the welcome message property injected through the
     * @Value annotation.welcome
     * @return welcome message
     */
    @GetMapping("/welcome")
    public String displayWelcomeMsg() {
        return welcomeMsg;
    }
}
When we run our application, our welcome controller will return the property injected from the application.properties file through @Value annotation.
3.1. Using Constructor Argument.
We have the option to use the @Value annotation to pass as the constructor argument. Let’s take an example, where we want to pass a default value to the constructor:
public void DefaultWelcomeService(@Value("${javadevjournal.init.secret.key}") String secretKey) {
    this.secretKey = secretKey;
    LOG.info("@Value annotation is working for our secret key {}", secretKey);
}
[pullquote align=”normal”]If Spring doesn’t find the key you want to inject, it’ll throw IllegalArgumentException [/pullquote]
Spring Boot is flexible enough to provide an option to handle the IllegalArgumentException in case the property is missing. We can pass an option value in case the property is missing in the application.properties file. We can pass the default value by adding colon (:) after the key followed by the default value.
@Value("${javadevjournal.welcome.message: Welcome!!!}")
private String welcomeMsg;
4. Using @ConfigurationProperties
This annotation is helpful if our properties have some common context.Consider following entries in the property file.
user.firstName = Demo
user.lastName = User
user.greeting = Hello Stranger
user.blogName = javadevjournal.com
If I have to use these property files in the Spring application.
public class SimpleSpringPropertyTest {
    @Value("${user.firstName}") private String firstName;
    @Value("${user.lastName}") private String lastName;
 }
@Value("${proprties}") annotation is handy and easy to use, but it will really be a very tedious process if we have several properties. Spring Boot has introduced the @ConfigurationProperties annotation to handling these properties in a more clean way with an option to validate these configurations value.
#Database Configuration
db.driver =org.hsqldb.jdbcDriver
db.username =test
db.password =test
db.tablePrefix =_prefix
#SMTP Configuration
mail.from [email protected]
mail.host [email protected]
mail.port =25
mail.security.userName =test
mail.security.password =test
#Server Configurations
server.tomcat.httpPort =80
server.tomcat.sslPort =443
server.tomcat.ajpPort =444
server.tomcat.jmxPort =445
Let’s see how to set up email configurations without injectingindividuall properties:
@Configuration
@ConfigurationProperties(prefix = "mail")
public class ApplicationConfigurationProp {

    private String from;
    private String host;
    private int port;

    //getter and setter

    public static class Security {
        private String userName;
        private String password;

        //getter and setter
    }
}
Once we run above application, all properties defined in the property files with prefix “mail” will automatically be bind /assigned to this object. Read @ConfigurationProperties in Spring Boot for more detail.
5. Overriding Default Properties
To override the properties defined in the default application.properties file, we just need to define the property in our project configuration file with custom value. Spring Boot load these property files in certain order and it will make sure that the configuration defined in project application.properties file take precedence. Let’s take an example, where we like to change the default port of the tomcat, add the following property in the project configuration file:
server.port = 8090
6. Multiple Lines in Property File
If our property has a long value, we can add backslash character to break it in multi-line and improve the overall readability of the property. Let’s see how to do this in the application.properties file:
javadevjournal.welcome.message= A warm and long greeting from Javadevjournal Team!! to show \
                                how we can use the backslash character to improve the overall \
                                readability of the file.
7. Custom Properties Type Conversion
All properties defined in the application.properties file is of type String (it’s a text file). Spring framework comes a long list of type convertors to convert string to other types based on the type declared in the application. Let’s look at the following example:
javadevjournal.max.login.retry=3
javadevjournal.enable.guest.checkout=true
Spring detects variable type automatically and will perform type conversion before injection;
public void DefaultWelcomeService(@Value("${javadevjournal.init.secret.key}") String secretKey, @Value("${javadevjournal.max.login.retry}") int retry, @Value("${javadevjournal.enable.guest.checkout}") boolean enableGuestCheckout) {
    this.secretKey = secretKey;
    LOG.info("@Value annotation is working for our secret key {}", secretKey);
}
8. Arrays, List, Set in application.properties
There are certain use cases where we want to define a collection of values for our application. Define the property values separated by comma in the application.properties file.
javadevjournal.init.keys= 1,2,3,4,5,6Define the property in the class as List, Set or Array and Spring will do the auto conversion for us.
@Value("${javadevjournal.init.keys}")
private int[] keys;

@Value("${javadevjournal.init.keys}")
private List < Integer > keyList;

/**
 * Our Welcome display message which will use the welcome message property injected through the
 * @Value annotation.welcome
 * @return welcome message
 */
@GetMapping("/welcome")
public String displayWelcomeMsg() {
    LOG.info("keys as integer array {}", keys);
    LOG.info("keys as integer list {}", keyList);
    return welcomeMsg;
}
Here is the output from the console:
2020-02-17 11:10:39.560  INFO 87750 --- [nio-8080-exec-1] c.j.controller.WelcomeController         : keys as integer array [1, 2, 3, 4, 5, 6]
2020-02-17 11:10:39.563  INFO 87750 --- [nio-8080-exec-1] c.j.controller.WelcomeController         : keys as integer list [1, 2, 3, 4, 5, 6]
8.1. Custom separator in the property file.
Spring Boot uses a comma as the default delimiter when we define the list in the application.properties file. Framework provide the option to handle the properties in case we want to use a different delimiter for the list.
javadevjournal.init.keys= 1;2;3;4;5;6@Value("#{'${javadevjournal.init.keys.new.delimiter}'.split(';')}")
private List < Integer > newKeys;That’s the power of Spring EL, which did this trick for us.Spring Boot injected the property as a regular string. The split() method in our expression split the input and finally it’s converted in to the Integer list.
[pullquote align=”normal”]There are no naming convention rules, but it’s highly recommended to have a consistent naming convention for your custom properties. [/pullquote]
9. Spring Profile (Environment Specific Files)
Spring Profiles provides a powerful and easy way to control code and configuration based on the environment. Using Spring Profiles its possible to segregate parts of our application and make it only available in certain environments. One of the most interesting and powerful features provided by Spring Boot is the ability to define profile specific application.properties file and active these by main application.properties file.
To use profile specific configuration files, we need to the naming convention of application-{profile}.properties where profile defines the name of the intended profile. It will load profile files from the same location as application.properties file.
application-local.propertiesapplication-dev.propertiesapplication-staging.propertiesapplication-prod.properties
You can define properties as per your requirements.Use the spring.profiles.active property to help Spring Boot choose the correct configurations for us.
spring.profiles.active=stagingWe are setting the active profile as staging. With above setting,, Spring Boot will load the properties defined in the application-staging.properties besides the main application.properties file.For more detail, read Spring Profiles
[pullquote align=”normal”]The application.properties will always loaded, irrespective of the spring.profiles.active value. [/pullquote]
10. External application.properties File.
How about a situation where we don’t want to put the properties inside the jar? Take an example of the username and password for all the endpoints. We don’t want this sensitive data in the jar file yet we like to use the same level of flexibility to change the configurations without changing the code base.
Spring Boot provides an option to read custom property file directly from the filesystem of the runtime environment. We can store this custom application.properties file on the server and notify Spring Boot to load this file on the startup.Use the spring.config.additional-location property to configure
java -jar javadevjournal.jar -Dspring.config.additional-location="external_file_location"
Summary
In this article, we discussed the application.properties file in Spring Boot. We saw the different options to define the custom properties for our application using this configuration file. At the end of this section, we talked about how to load the sensitive data using an external file in our application. As always, the source code for this application is available on the GitHub.
Thnx a lot.