In this article of Spring Boot tutorial, we will create Boot application. We will create a simple Spring boot REST controller. We will build spring boot hello world example in IntelliJ step by step.
1. Create Project Template.
To create a template for our Spring Boot example, application, I suggest using Spring Initializr, alternatively we can also use IntelliJ to create our Spring Boot application. For this post, let’s open the http://start.spring.io/ to create our web application.

I have added web and devtools and my project dependencies. There are few important points to note:
- Our project packaging is a jar (default), you can also choose as war.
- This will be a maven project. You have the option to choose gradle as your build system.
- Java 8 is the minimum baseline, you can also choose Java 11.
“Generate Project” button will generate .zip file. Download and extract this zip file. We will use this in our next step.
2. Creating Spring Boot Project
Next step is to import this file in our IDE. We are outlining the process in IntelliJ but this is very similar to Eclipse since Spring Initializr generate a maven based project:
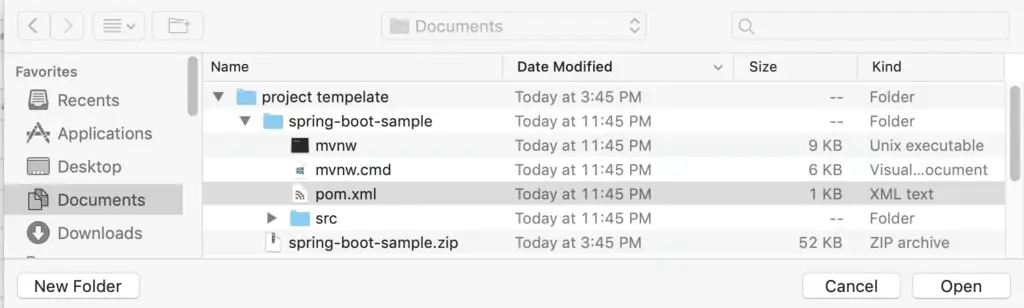
1. Click on the Import Project on the startup screen
2. Select the pom.xml or the extracted folder:
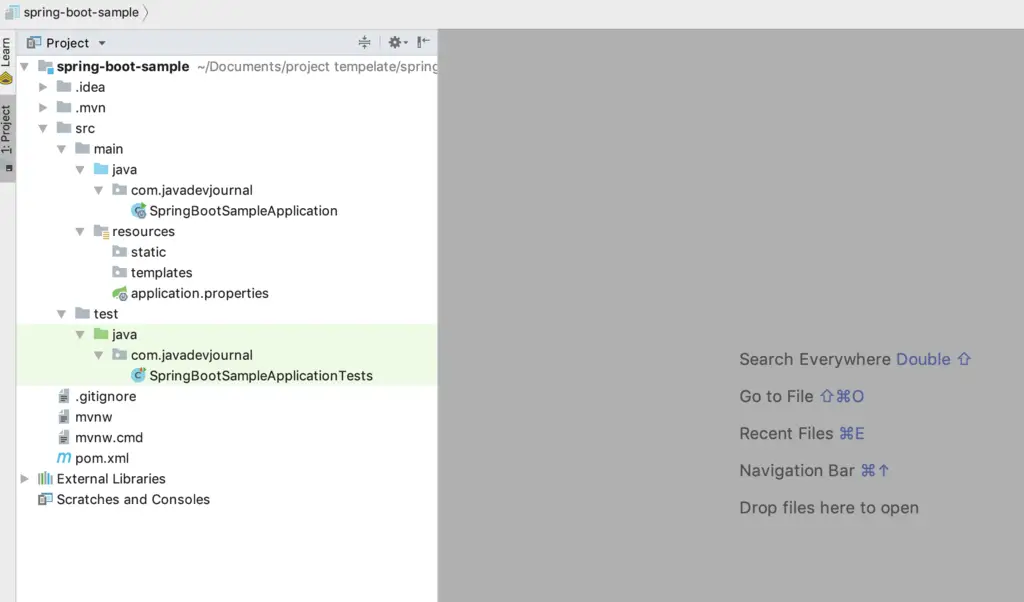
3. Follow the rest of the wizard to complete the import process. On completion, it will automatically download the dependencies you added while generating zip file and added into classpath.
3. Spring Boot Example Bassic
Before we create the controller for our Spring Boot example application, let’s try to understand few fundamentals of the Spring Boot.
3.1 Spring Boot Auto Configuration
Spring boot auto configuration is the key of Spring Boot. This is an intelligent system which takes an opinionated approach. Auto-Configuration will attempt to automatically try to set up our application with default behavior based on the jars in the classpath. For example, if Spring Boot finds HSQLDB in out classpath, it will automatically configure an in-memory database for us. Think of the auto-Configuration as an intelligent system which can provide ready to use the application to us based on the configured jars in our classpath.
3.2 @SpringBootApplication annotation
Spring Boot provides the @SpringBootApplication annotation to mark the main class of our application. The @SpringBootApplication annotation is a convenience annotation equivalent to declaring @Configuration, @EnableAutoConfiguration and @ComponentScan.This is how the main class of our example look like:
package com.javadevjournal;

import org.springframework.boot.SpringApplication;
import org.springframework.boot.autoconfigure.SpringBootApplication;

@SpringBootApplication
public class SpringBootSampleApplication {
   public static void main(String[] args) {
	SpringApplication.run(SpringBootSampleApplication.class, args);
  }
}
4. Spring Boot Example
To complete our Spring Boot example, let create a simple controller to return a customer information back to the client. This is how our controller code look like:
4.1 Customer Controller
package com.javadevjournal.controller;

import com.javadevjournal.data.Customer;
import org.springframework.http.HttpStatus;
import org.springframework.http.ResponseEntity;
import org.springframework.web.bind.annotation.GetMapping;
import org.springframework.web.bind.annotation.ResponseBody;
import org.springframework.web.bind.annotation.RestController;

@RestController
public class SpringBootExampleController {

 @GetMapping(value = "/customer")
 public @ResponseBody ResponseEntity < Customer > getCustomer() {

  Customer customer = new Customer();
  customer.setName("Java dev Journal");
  customer.setAge(30);
  customer.setEmail("[email protected]");

  return new ResponseEntity < Customer > (customer, HttpStatus.OK)
 }

}
This is how our customer data class look like:
public class Customer {

 private String name;
 private int age;
 private String email;

 //getter and setter
}
5. Testing our application
Let’s run our application to see it in action. We will start our application by running run() method in the SpringBootSampleApplication (Use the run option in your IDE). If you like you can also build and deploy in your application on dedicated application server. To test our application, use any REST client:
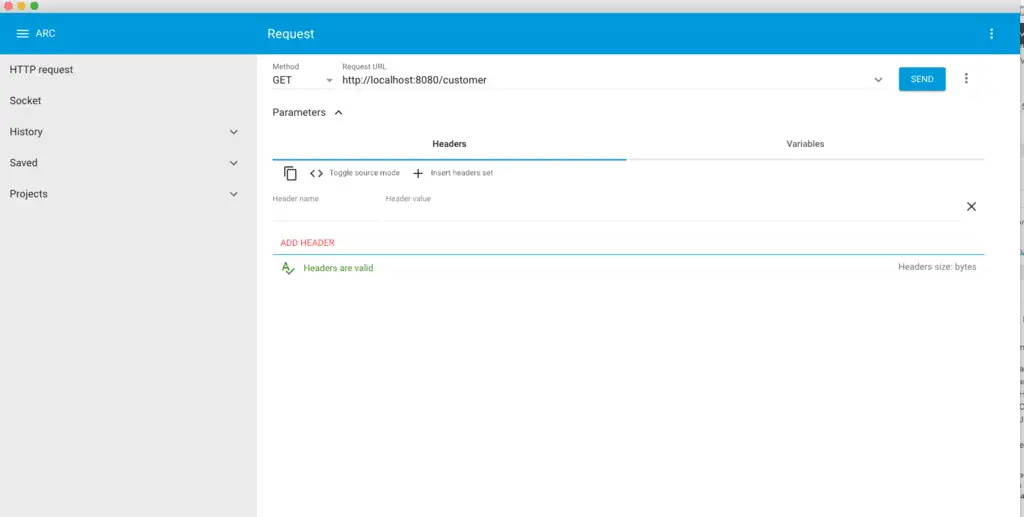
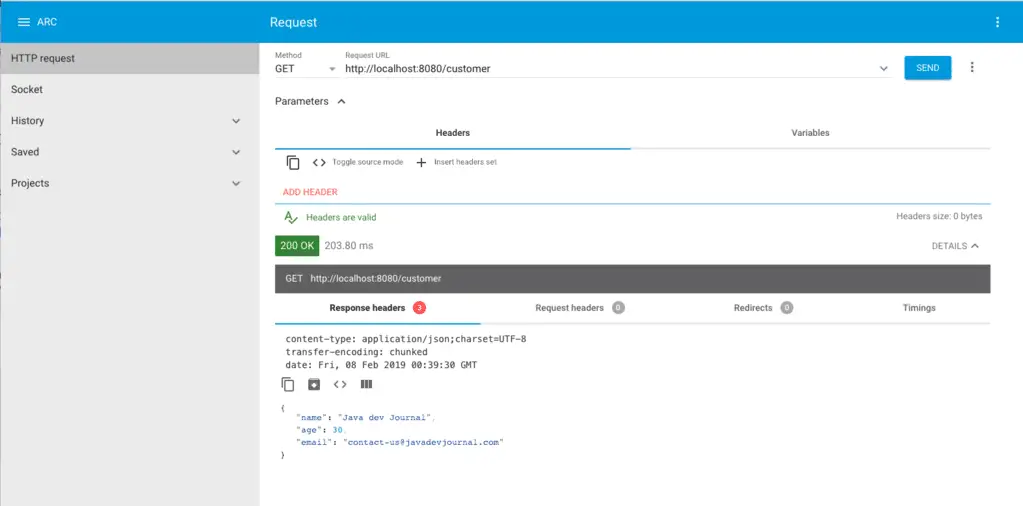
Once you hit the http://localhost:8080/customer URL, you will have the following output
{
    "name": "Java dev Journal",
    "age": 30,
    "email": "[email protected]"
}
Summary
In this post, we saw how to create a simple Spring Boot example application. We leaned the different steps to bootstrap a Spring Boot application.